03 - Creating a Shared Workspace
With the OrCAD X Professional (POX200 Pro) and OrCAD X Professional Plus (POX300) licenses, OrCAD X Capture provides a collaborative development environment where you can create shared workspaces containing work-in-progress components, designs, and library and project files.
Creating and managing workspaces
To create a workspace, do the following steps:
-
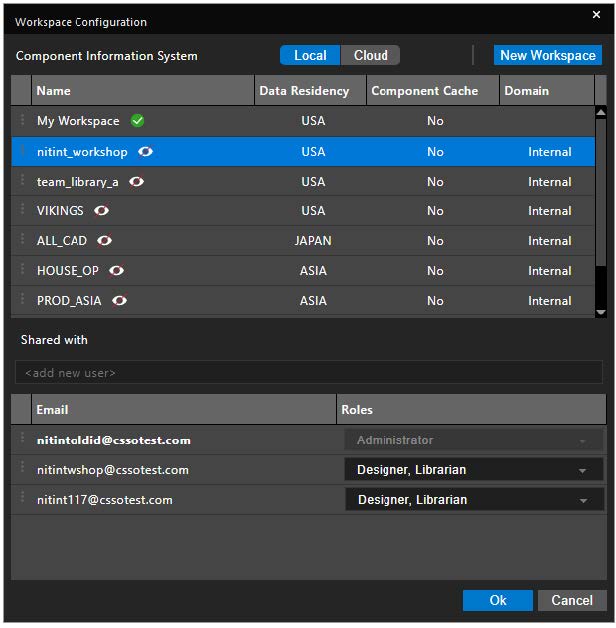
Choose View > Workspace > Configuration from the main menu. The Workspace Configuration dialog box opens.
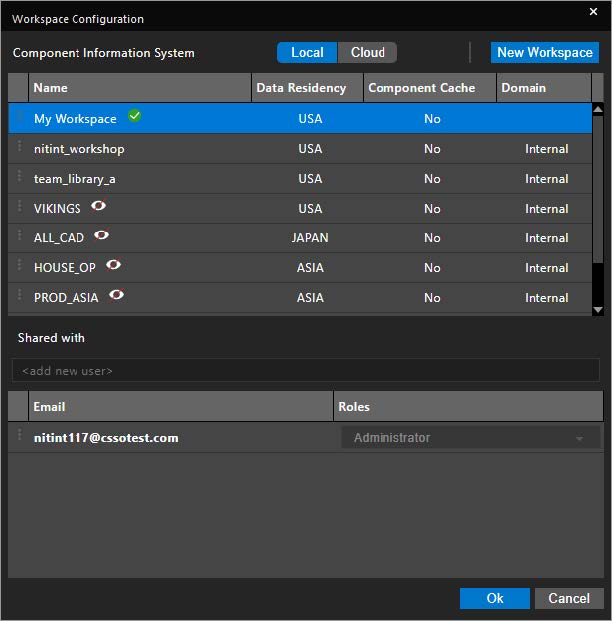
Click on New Workspace button.
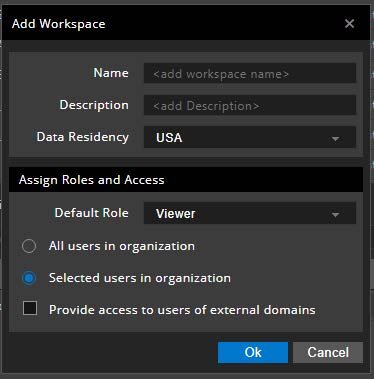
The options in the Add Workspace dialog box are described below:
Property
Value
Description
Name
nitint_workshop
Name of the shared workspace
Description
My Team Workspace
Workspace description
Data Residency
USA
Geographical location of the workspace data or server
Default Role
Designer, Librarian
Default role of the users who get access or are granted access to this shared workspace
Radio buttons:
All users in organization
Selected users in organization
Selected users in organization
Select whether all users in the organization should have access to this workspace.
Or
Admin specifies and adds individual users from the organization who will have access to this workspace.
Check box:
Provide access to users of external domains
Unchecked
Select if members outside the organization or domain can be added to this shared workspace.
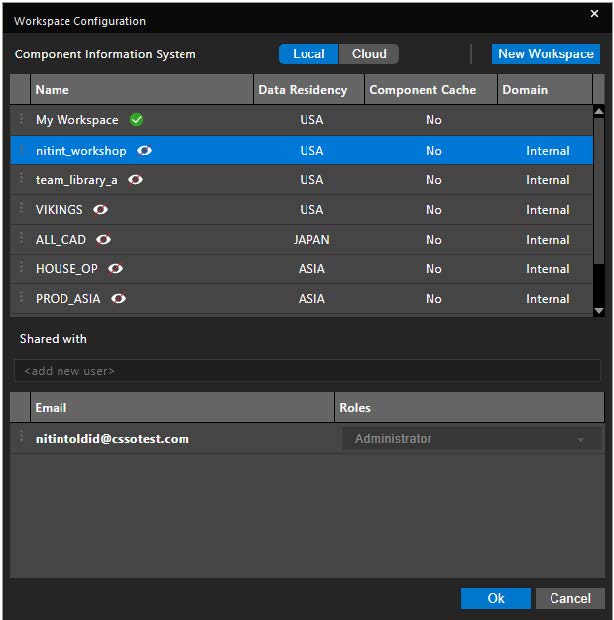
- Press Enter to add the shared workspace. The name of the user who created the shared workspace will be seen in bold in the member’s section. Click OK to create the new shared workspace.
Adding members and giving them access to shared workspace
The admin can add members to the shared workspace that is created.
-
Open the Workspace Configuration dialog box. Select the input field <add new user> and add the email id of your team member, as shown below. Then, press Enter.

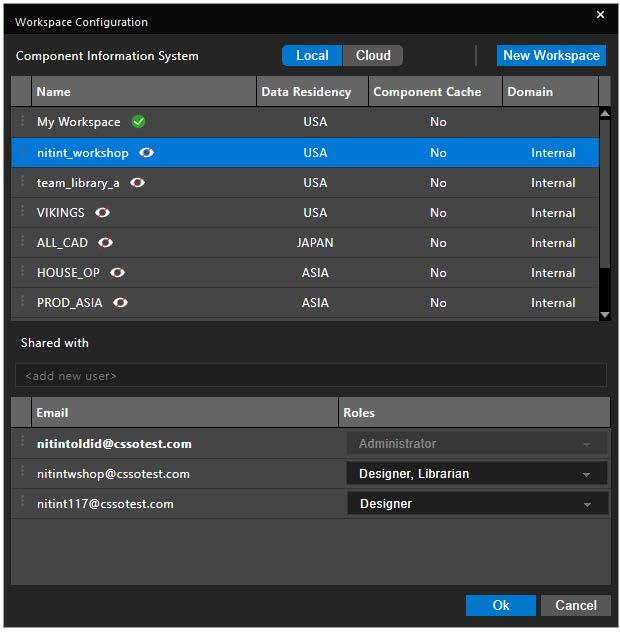
- After adding the desired number of users to the shared workspace, the dialog box will appear as shown below.
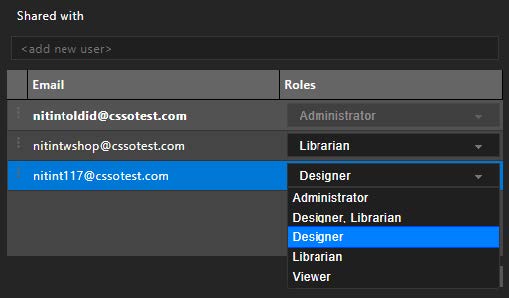
Configuring access control (roles)
-
Continuing from the previous section, you will now assign different user roles to the newly added users of the workspace. Here, for the users added, you change the access role from the default Designer, Librarian to individual Designer or Librarian.
Sharing content (design and libraries) with team
Content from workspaces is shared with team members using shared workspaces. Based on your access role, you can share the library or design content from your local workspace to a shared workspace. Sharing of files/content can also be done from one shared workspace to another shared workspace.
-
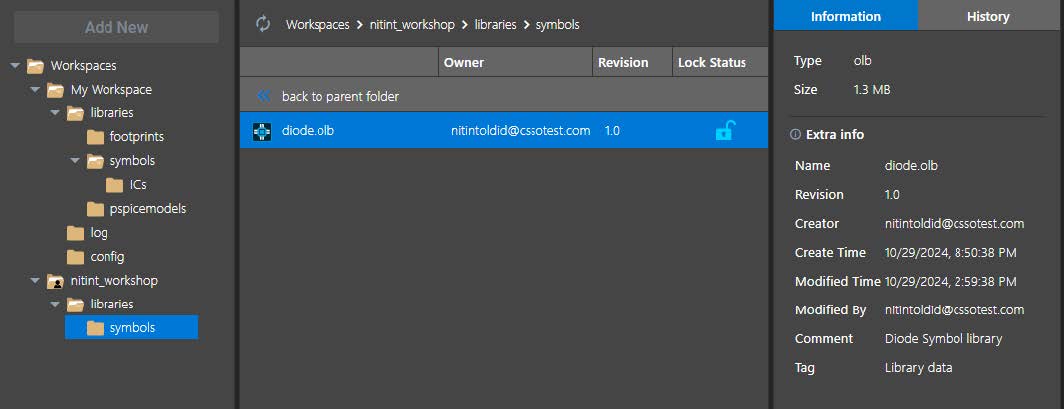
Select My Workspace and expand the folder structure under it. After doing so, select the libraries > symbols folder.
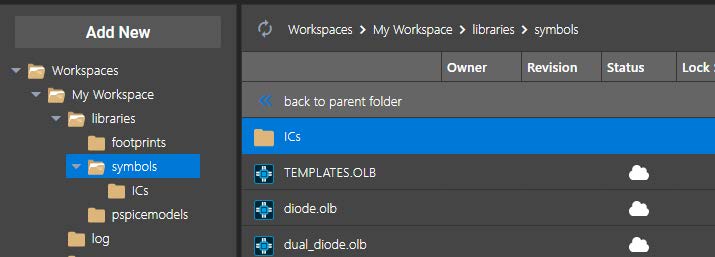
- Now, select the diode.olb library present in the symbols folder and right-click on it.
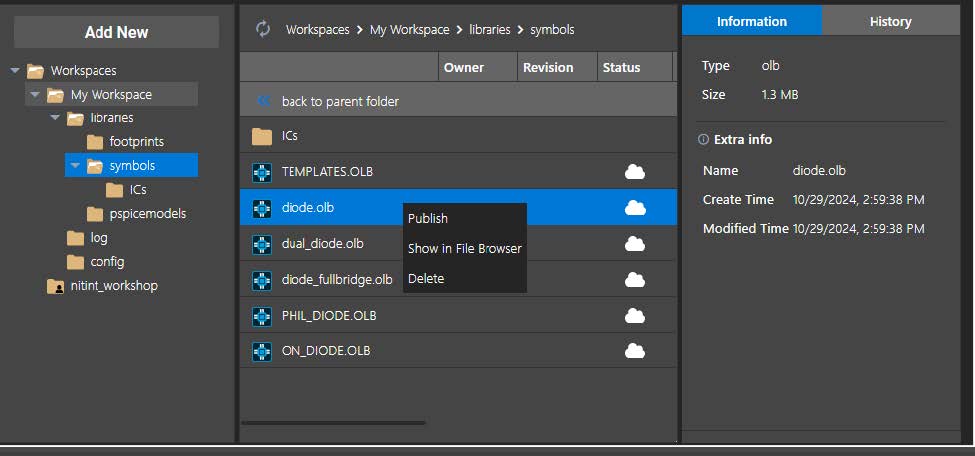
- Click Publish to invoke the Publish dialog box. Specify the entries as seen below.
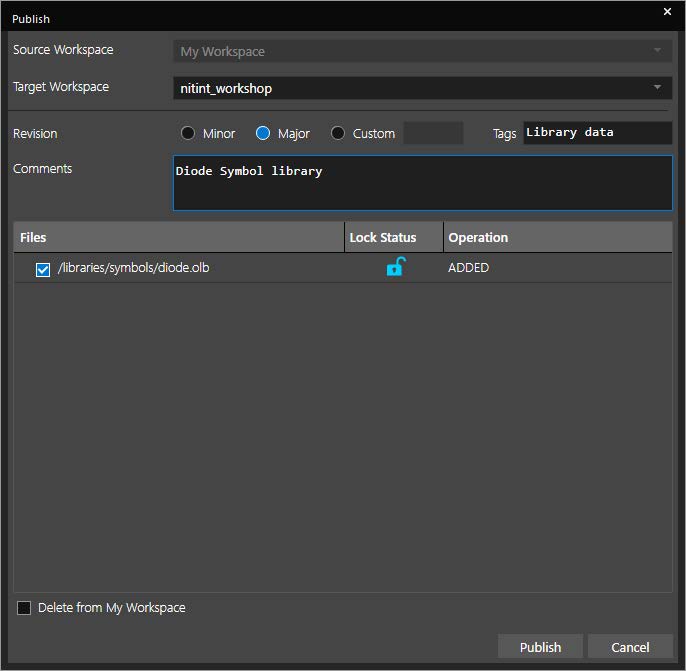
- Click Publish to publish the project to the shared workspace created earlier in this document.
- On selecting the target shared workspace, you will see the same directory structure as published, along with the published symbol file.