02 - Migrating Existing Design and Library Data to OnCloud Workspace
You can migrate your existing design database and library data to your OnCloud account in the following ways.
Adding content to OnCloud workspace via file upload
-
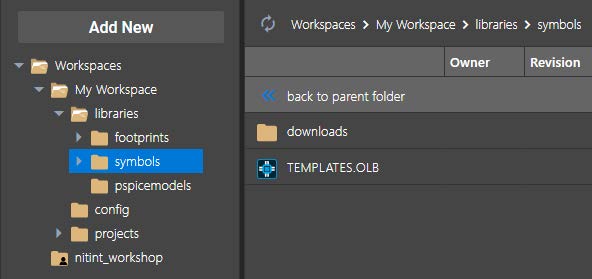
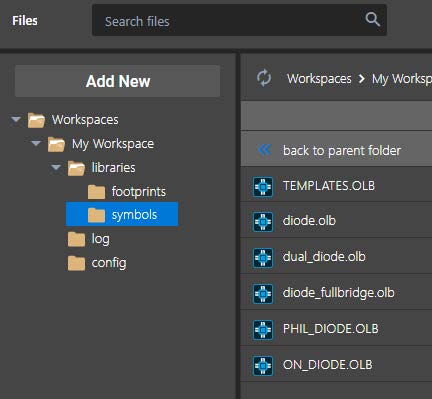
Select the libraries folder under My Workspace.
-
Select the symbols directory in the LHS tree and click the Add New button above the tree.
-
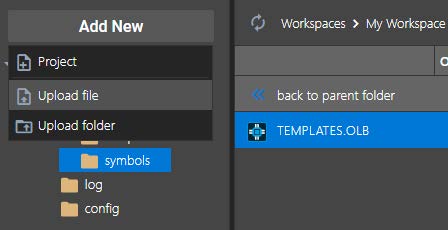
From the drop-down menu, click Upload file to open the file explorer.
-
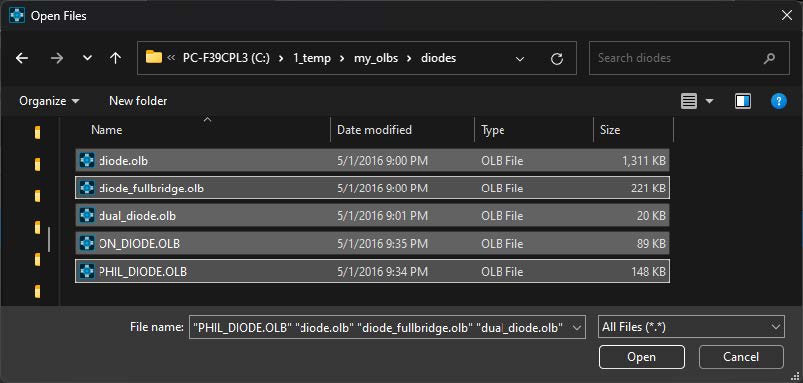
Browse to the path where you have the symbol files saved on your local disk and select them. Once selected, click Open to upload these files to the OnCloud workspace.
-
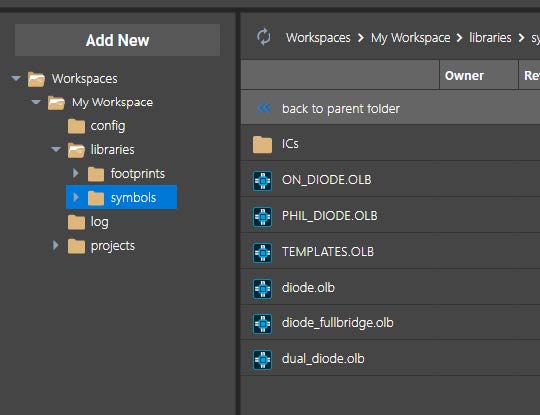
After the upload is successful, the File Manager UI will refresh and the uploaded file will be seen in the File Manager.
-
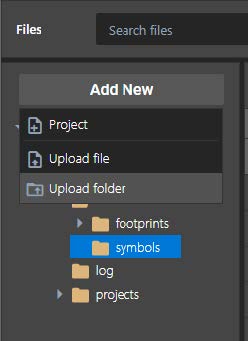
Using the Add New button, you can also upload multiple directories. Now, you will click the Upload folder button to bring up the Browse For Folder dialog box.

-
Select a folder and click OK to add the directory to the symbols folder.
Adding content to local workspace from workspace location
You can also upload content to your OnCloud account by browsing the locally cached folder. To do so, follow the steps below. Here, you will upload a few PSpice model files.
-
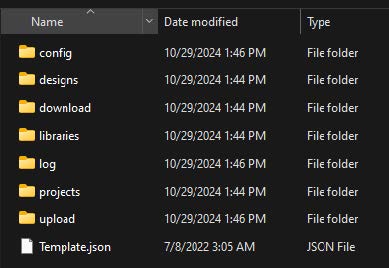
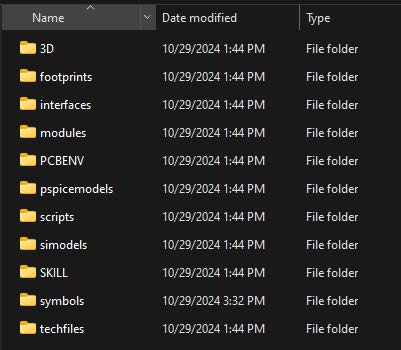
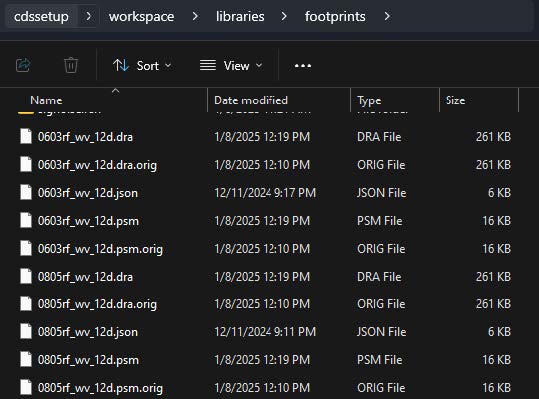
Browse to the locally cached OnCloud folder located at %HOME%\cdssetup\workspace.
-
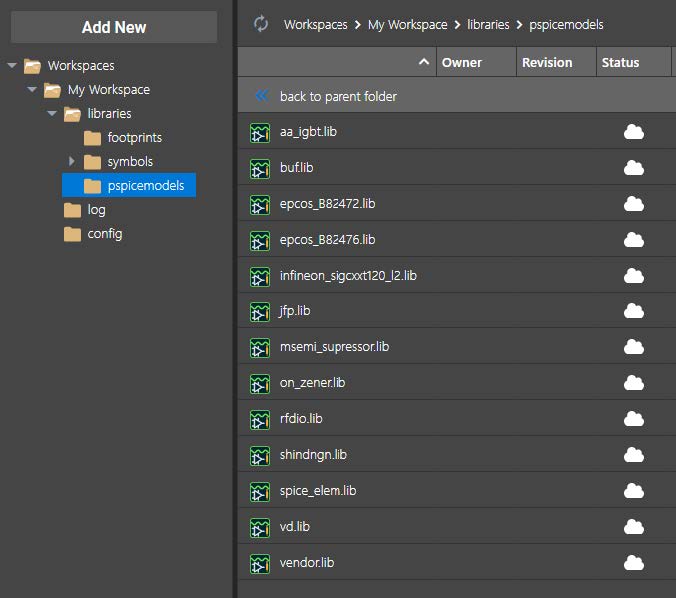
Now, go into the libraries > pspicemodels folder.
-
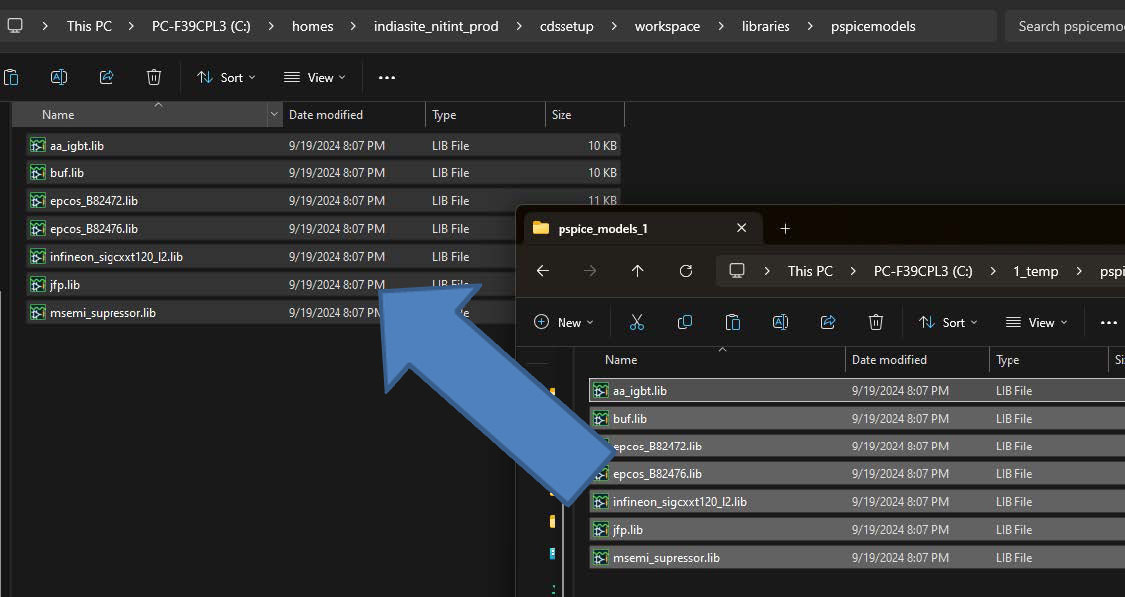
For new users, the pspicemodels folder will be empty. Copy a few PSpice models and paste them into the directory.
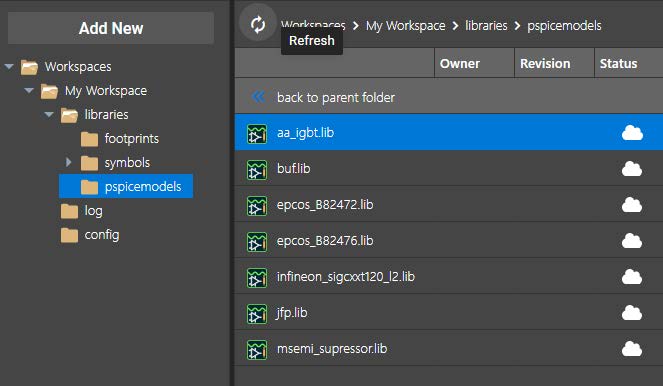
- Once done, switch to the File Manager UI and click Refresh. Once refreshed, the pspicemodels folder will be seen with the content added in the previous step.
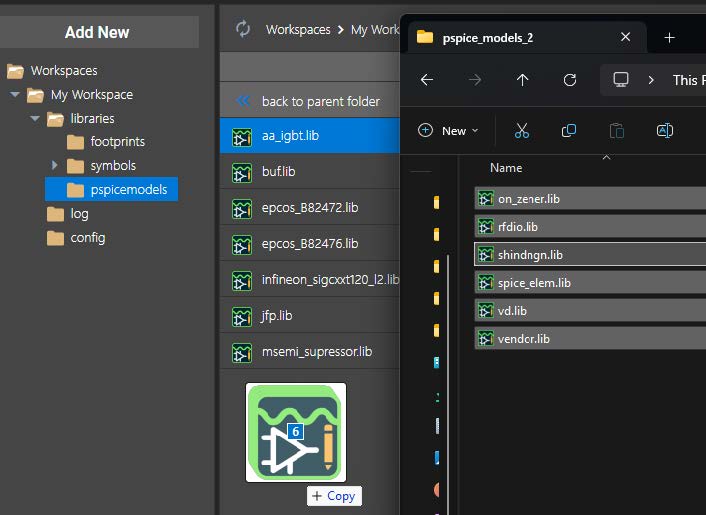
Adding content to local workspace via drag and drop
You can also upload the content to the OnCloud workspace by dragging and dropping the content to your local workspace in the File Manager UI.
-
Select again the pspicemodels directory in the LHS tree. This will populate the content of the pspicemodels directory in the RHS view.
-
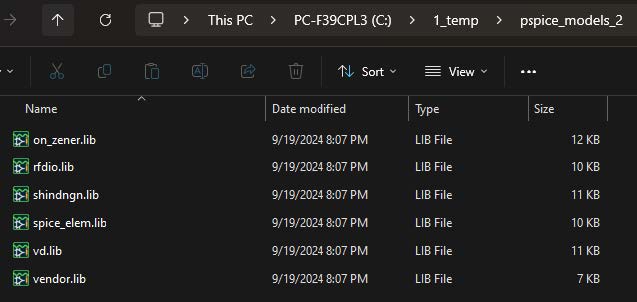
Now, browse to the location on your system with some additional PSpice models.
-
Select all files in the directory, and drag and drop these files to the File Manager pspicemodels directory to upload them.
-
After the upload is successful, the File Manager will refresh and the uploaded files will be seen in the File Manager.
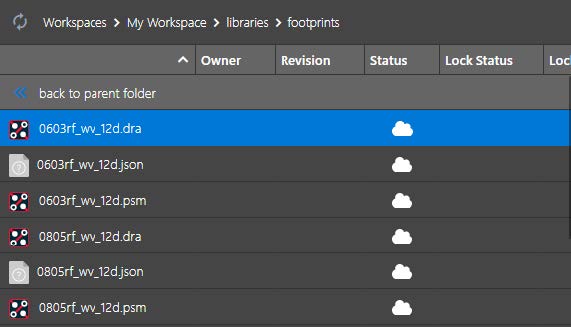
Sync status of files
For the user workspace, the status column for each file in the File Manager UI shows the sync status of the file with respect to the user's OnCloud account. Following are the possible status values:
-

In Sync: This status is seen when the file located in the locally cached folder is in sync with user’s cloud account.
-

Pending: This status is seen when the file is yet to be uploaded to OnCloud and is yet to be synced with the cloud account.
-

Sync In Progress: This status is seen when the file has started to upload and sync is in progress.
The time taken for this activity to complete depends on the number and size of files being uploaded. While the files get synchronized, you can view the upload or download status of files in the Cloud Sync dialog box.
To view the sync status of files, do the following steps:
-
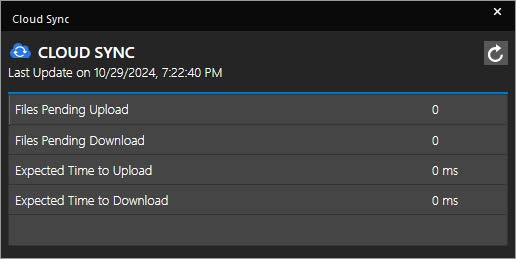
Click the Cloud Sync icon to open the Cloud Sync dialog box.
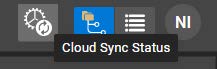
The Cloud Sync dialog box is displayed.
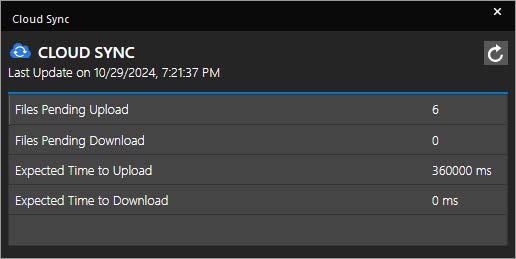
This dialog box shows the number of files pending for upload or download along with the expected time to upload or download the files. The date and time of the last data update is also indicated here.
-
Click the Refresh icon to check the current upload status.
If there is a discrepancy in the sync time between the client and the OnCloud server, the sync utility automatically runs to synchronize the client and server data.
File sync advanced options - Excluding files from synching
You can also control which files need to be excluded from getting synched to your cloud workspace by using the sync utility. These file extensions are specified in the settings.ini file located at <HOME>\cdssetup\cdns_internal_workspacedb.
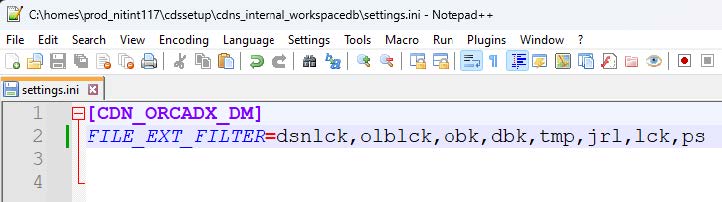
To exclude a particular file extension from getting synched to the OnCloud workspace, you can include it in the list. For example, you will add the orig extension to the above list.
Once added, files with the orig extension will not get synched to the cloud account when the sync utility is restarted again.
File sync advanced options - Starting and stopping sync utility
In OrCAD X Capture, the background data sync utility keeps the data in sync between the local disk and the cloud. This background utility is needed to sync the files from your cloud account to your system.
If this utility terminates, you will see a message for the same.
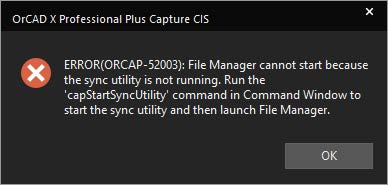
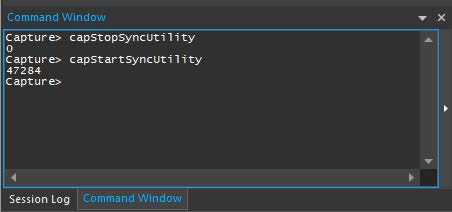
To restart the sync utility again, type the following command:
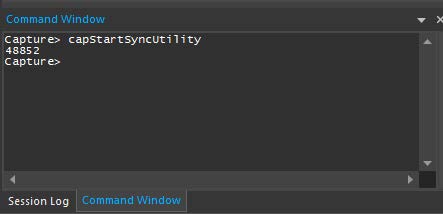
For stopping the sync utility, use the capStopSyncUtility command. You can use both of these commands to restart the sync utility.