04 - Updating Shared Content
To update a library or design shared with team members, you should have access over these in the shared workspace.
Updating a shared design/library
If you have access to a shared workspace, you will see all shared files in your File Manager. To edit a project or a file, you first need to move it to your local workspace. This is automatically done by the Edit command.
Here, you will switch to a user machine that has the librarian privilege.
To update/modify a file, do the following steps:
-
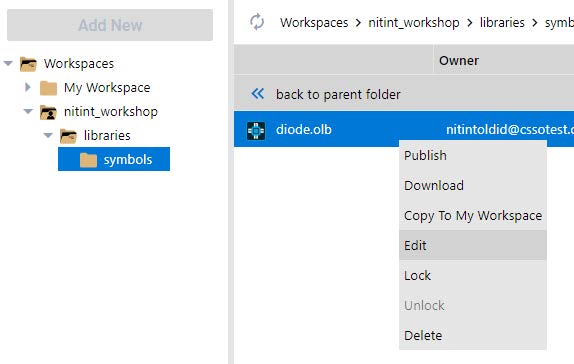
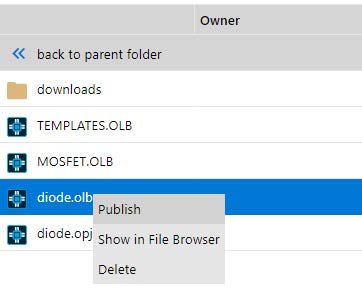
Select the file, right-click on it, and select Edit.
-
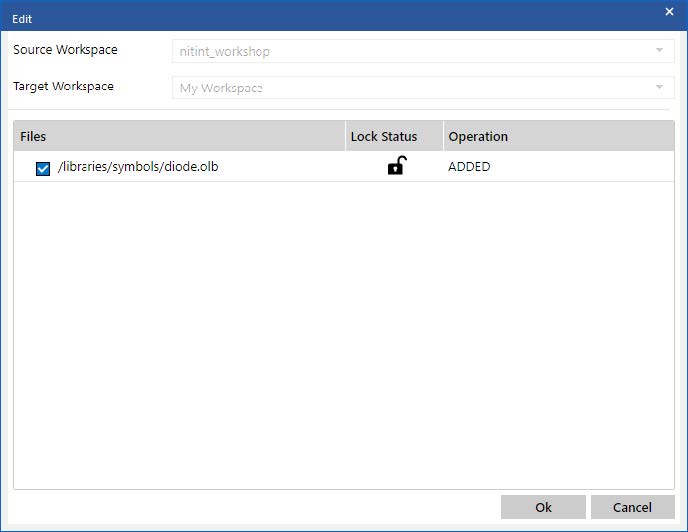
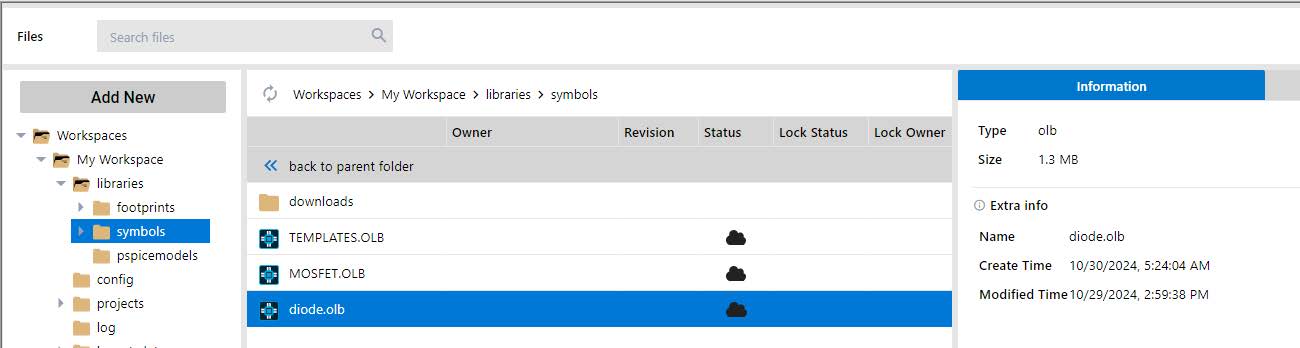
This will invoke the Edit dialog box where you will see the lock status and operation of the file with respect to the local workspace.
-
Click Ok to copy the symbol file to your My Workspace.
When you edit a project, the libraries folder, or a file, it is automatically locked in the shared workspace.

-
The file will now also be seen in the librarians' My Workspace.
-
Once a file appears in My Workspace, you can double-click on the file and then open/edit it in Capture.

-
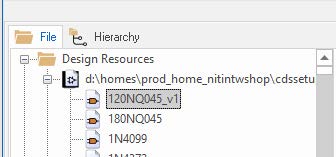
Once open, update the name of a symbol in the library as shown below. Then, save the symbol file and close it.
-
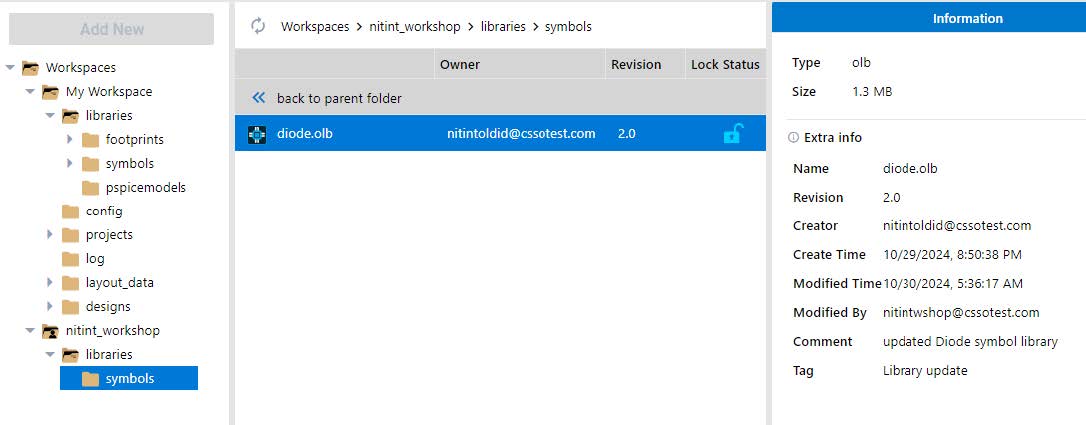
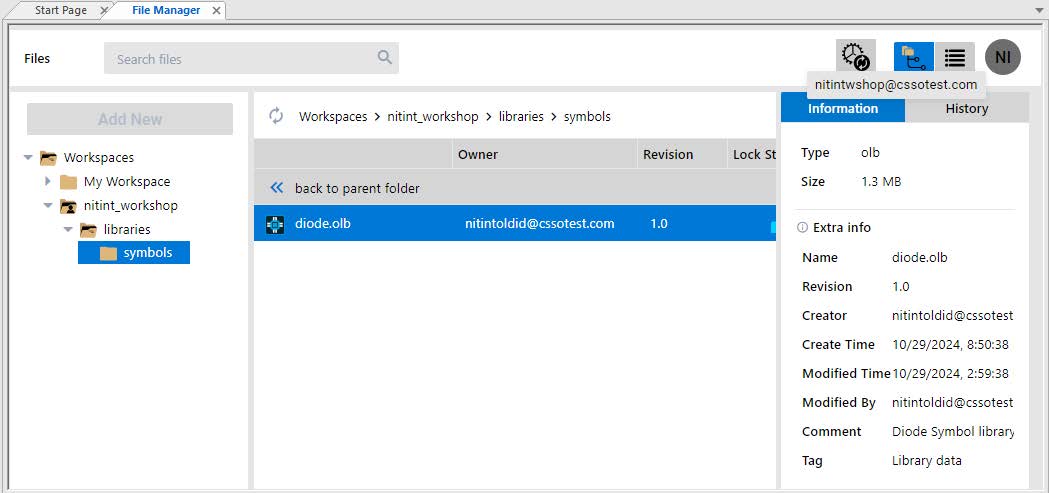
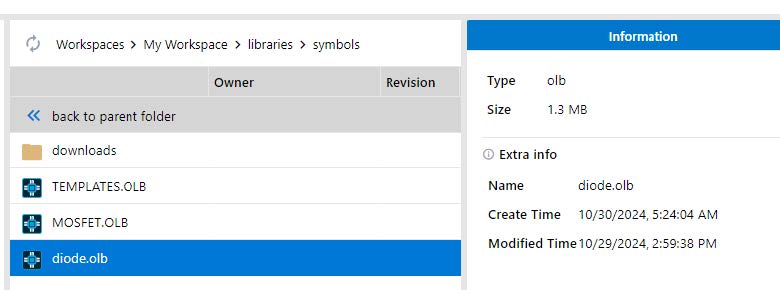
Now, refresh the File Manager UI to see the updated timestamp of the modified file in the Information section.
-
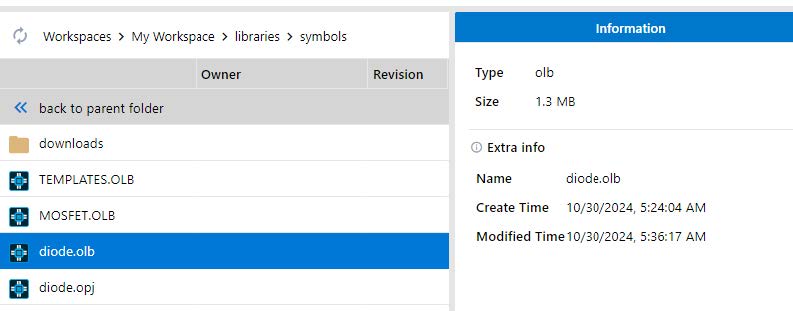
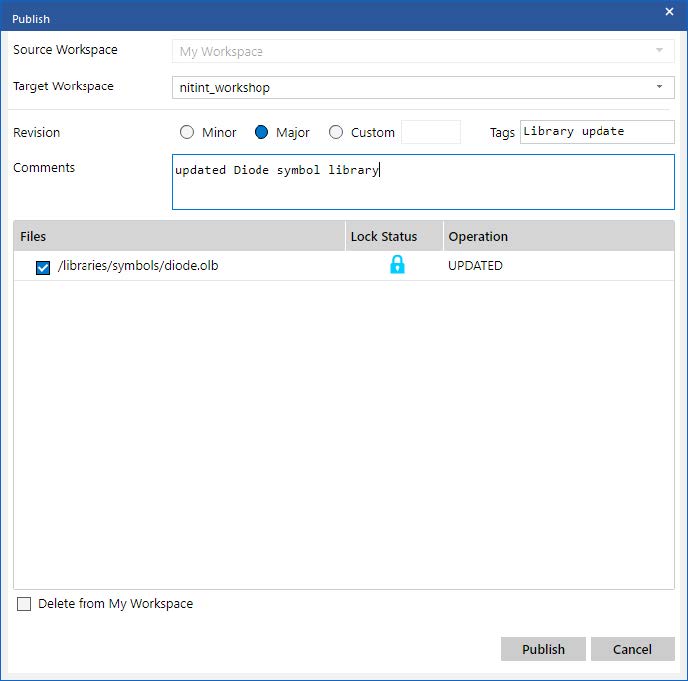
Once updated, publish the symbol file back to the shared workspace so that other users can access it.
-
Once published, the updated status of the file will be seen in the shared workspace.